SK89-273
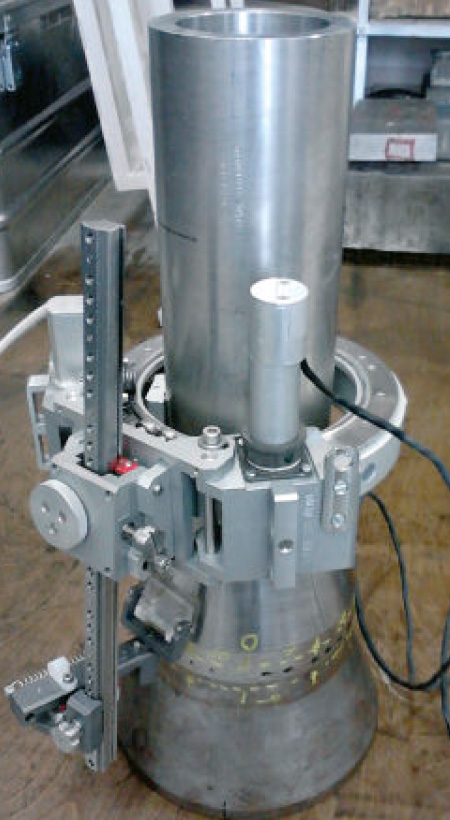
Motorized single-axis track scanner for monitoring pipes and flanges made of non-magnetic and magnetic materials (the diameter of the object at the installation site of the track is from 89 mm to 325 mm)
The SK89-273 scanner is designed for ultrasonic inspection of annular welded joints of welding pipes of pipelines made of corrosion-resistant materials.
The scanner is moved along the track installed on the control object. The scanner can be equipped with a second encoder (path sensor X) for manual scanning along the second axis.

Single-coordinate scanner version
Usage
- Single-coordinate control of annular welded joints by phased array methods with automated scanner movement
- Two-coordinate control of annular welded joints by phased array methods with automated movement of the scanner along one axis (axis along the seam) and manual on the second axis
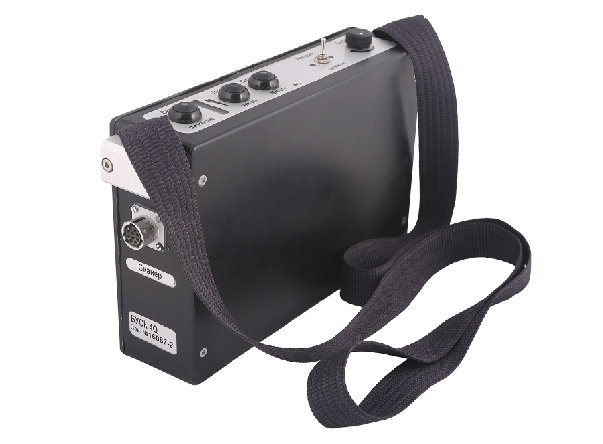
- The motorized scanner moves along the track and can be controlled by the scanner control unit
- The scanner control unit sets the speed and direction of movement
The scanner control device

Scanners
| Name | Article | Standard equipment |
|
Branch Pipe Scanner SK 89-273 |
S0160028 |
|
Tracks
If necessary, any number of tracks can be ordered additionally.
The track can be made to order with the required diameter.
| Name | Article | Standart equipment |
| Track 89-108 | S0160037 | Track scanner for pipes Ø89-108 мм |
| Track 133 | S0180014 | Track scanner for pipes Ø133 мм |
| Track 159 | S0160038 | Track scanner for pipes Ø159 мм |
| Track 219 | S0160039 | Track scanner for pipes Ø219 мм |
| Track 273 | S0160040 | Track scanner for pipes Ø273 мм |
- Path sensor X. (art. S0160035)
- It is set to scan along the second axis
- Path sensor cable for two-coordinate scanning
- If there is an X path sensor. In the order, it is necessary to specify the flaw detector with which the scanner will be operated
- Contact fluid supply system
- Kit for the contact fluid supply system
- Length of cables under the order
- Converters and prisms are not included in the package and are purchased separately
- Clamps, forks and guides can be made to order
| Range of inspection pipe diameters | from 89 to 800 mm |
| Moving along the track that is installed on the inspection object | |
| Scanning using phased arrays on one axis in an automated way | |
| The possibility of installing a second encoder for scanning along the second axis | |
| The scanner is equipped with a inspection device for automated movement with speed and direction adjustment | |
| The scanner is equipped with a clamp that ensures optimal contact with the control surface at any position and orientation of the scanner | |
| Width of the clamp fork for mounting the converter with a prism | 30 mm |
|
Dimensions, L x W x H |
350 х 256 х 117 mm |
| Weight (without track) | 3,6 kg |
| Encoder resolution | 4,8 counts/mm |
More from this topic